Agentsflare Openclaw Configuration Guide
Openclaw Openclaw is an AI that can actually get work done.
Installing and Configuring Openclaw
Installing Openclaw
bash
curl -fsSL https://openclaw.ai/install.sh | bashbash
npm i -g openclaw
openclaw onboard
bash
curl -fsSL https://openclaw.ai/install.sh | bash -s -- --install-method gitFor other installation methods, see Openclaw Installation Documentation
Starting the Service
Start Openclaw
bash
openclaw startIf there are any other issues, follow the prompts.
Enter the following URL in your browser: http://localhost:18789/?token=123456 to access the Openclaw page.
Configuring Openclaw
- Modify the configuration file ~/.openclaw/openclaw.json
{
  "meta": {
    "lastTouchedVersion": "2026.2.3-1",
    "lastTouchedAt": "2026-02-09T05:24:26.533Z"
  },
  "models": {
    "mode": "merge",
    "providers": {
      "AgentsFlare": {
        "baseUrl": "https://api.agentsflare.com/v1",
        "apiKey": "YOUR-KEY",
        "api": "openai-completions",
        "models": [
          {
            "id": "claude-3-haiku-20240307",
            "name": "claude-3-haiku-20240307",
            "api": "openai-completions",
            "reasoning": false,
            "input": [
              "text"
            ],
            "cost": {
              "input": 0,
              "output": 0,
              "cacheRead": 0,
              "cacheWrite": 0
            },
            "contextWindow": 64000,
            "maxTokens": 4096
          },
          {
            "id": "claude-opus-4-6",
            "name": "claude-opus-4-6",
            "api": "openai-completions",
            "reasoning": true,
            "input": ["text"],
            "cost": { "input": 0, "output": 0, "cacheRead": 0, "cacheWrite": 0 },
            "contextWindow": 200000,
            "maxTokens": 32000
          }
        ]
      }
    }
  },
  "agents": {
    "defaults": {
      "model": {
        "primary": "AgentsFlare/claude-3-haiku-20240307"
      },
      "compaction": {
        "mode": "safeguard"
      },
      "maxConcurrent": 4,
      "subagents": {
        "maxConcurrent": 8
      }
    }
  },
  "messages": {
    "ackReactionScope": "group-mentions"
  },
  "commands": {
    "native": "auto",
    "nativeSkills": "auto"
  },
  "gateway": {
    "port": 18789,
    "mode": "local",
    "auth": {
      "token": "123456"
    }
  },
  "skills": {
    "entries": {
      "coding-agent": {
        "enabled": true
      },
      "skill-creator": {
        "enabled": true
      }
    }
  }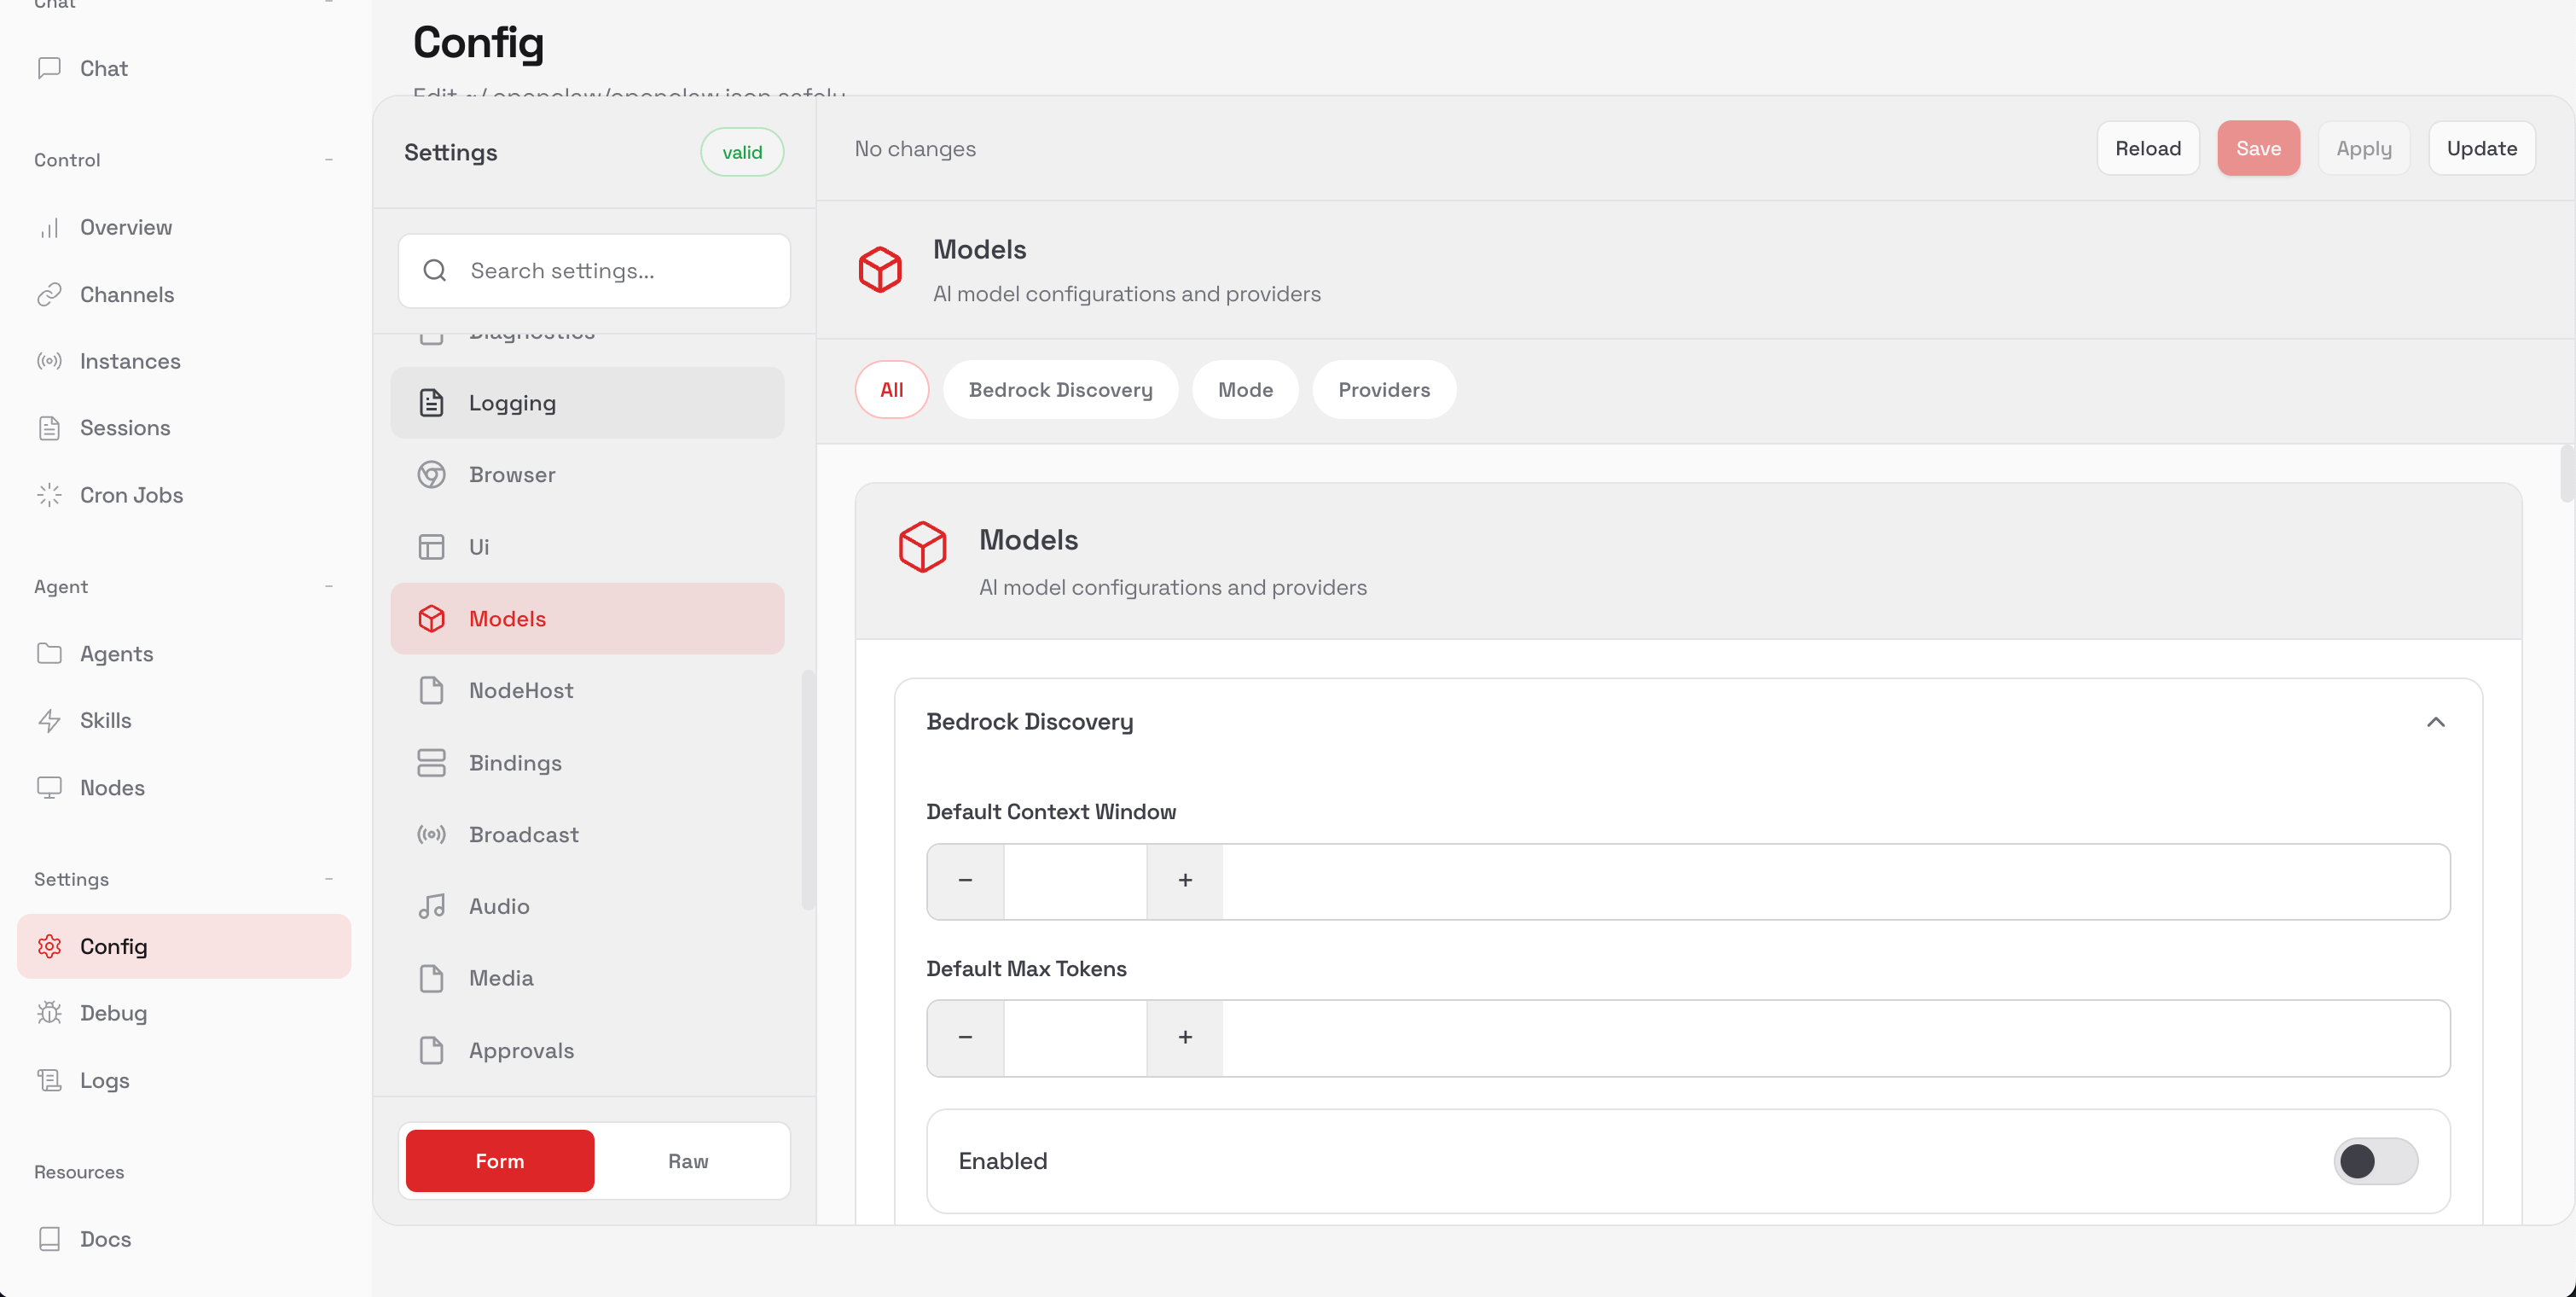
}- Configure Openclaw models through the web page Click Settings on the right side -> Config, select Models in the pop-up box, and select All on the right side. Add the base URL and API key below.
Debugging
bash
openclaw gateway run --token 123456Run in the foreground and determine the cause of errors through the input logs.